
Uploading Throwbacks


Your Listings = Your ThrowbackBuys Shop
Your listings are the heart of your ThrowbackBuys shop. Make 'em count. Follow these guidelines to keep your products looking fresh, searchable, and packed with nostalgia.
To learn more about what does and doesn't belong on TBB check out the Throwback Listing Policy.
Eligibility & Product Selection
Unlike other marketplaces, ThrowbackBuys isn't a junk drawer — we’re out here preserving pop culture. Only list products that feel like a memory capsule from the 80s to early 2000s.
Here’s the mic-check:
-
Fits the Era: Manufactured between the 80s and Y2K is the sweet spot. Outliers are fine if they still scream nostalgia.
-
Memory Triggers: If someone could say, “Yo, I remember that!” — you’re on track.
-
Pop Culture Ties: Think movies, music, tech, toys, fashion, and fads that shaped a generation.
-
Preservation-Worthy: We’re archiving culture. Not everything old is gold — relevance beats rarity.
Want the full low-down? Check the Throwback Listing Policy for examples and product types.
Titles & Descriptions
✅ Title Do’s:
-
Start with a year when known (exact manufacturing date).
-
Include franchise or artist name (e.g., TMNT, The Beatles, Eric Carle).
-
Include item type (e.g., T-Shirt, Poster, Plush Set, VHS, CD, Toy).
-
Add key descriptors sparingly (e.g., Signed, RARE, SEALED, Complete).
-
Use colons to separate franchise from item for clarity.
❌ Title Don’ts:
-
Don’t start with “Vintage” if you know the year or decade.
-
Don’t stack redundant adjectives (e.g., “Rare Vintage Old”).
-
Don’t include condition notes (e.g., “Great Condition”) — save those for the description.
-
Don’t overload titles with keywords at the expense of readability. This ain't eBay!
📂 Categorization & Metafields
Pick the Right Category: Select the most accurate category and subcategory (e.g., Toys & Games → Collectibles). Not seeing the right fit? Drop a suggestion in #seller-support on Discord.
Fill in Required Meta Fields:
- “Works?” is required for electronics or mechanical items.
- “Size” is required for apparel.
These details help buyers find your listings faster!
For a full list of Collections/Product Types, please scroll to the end of this page.
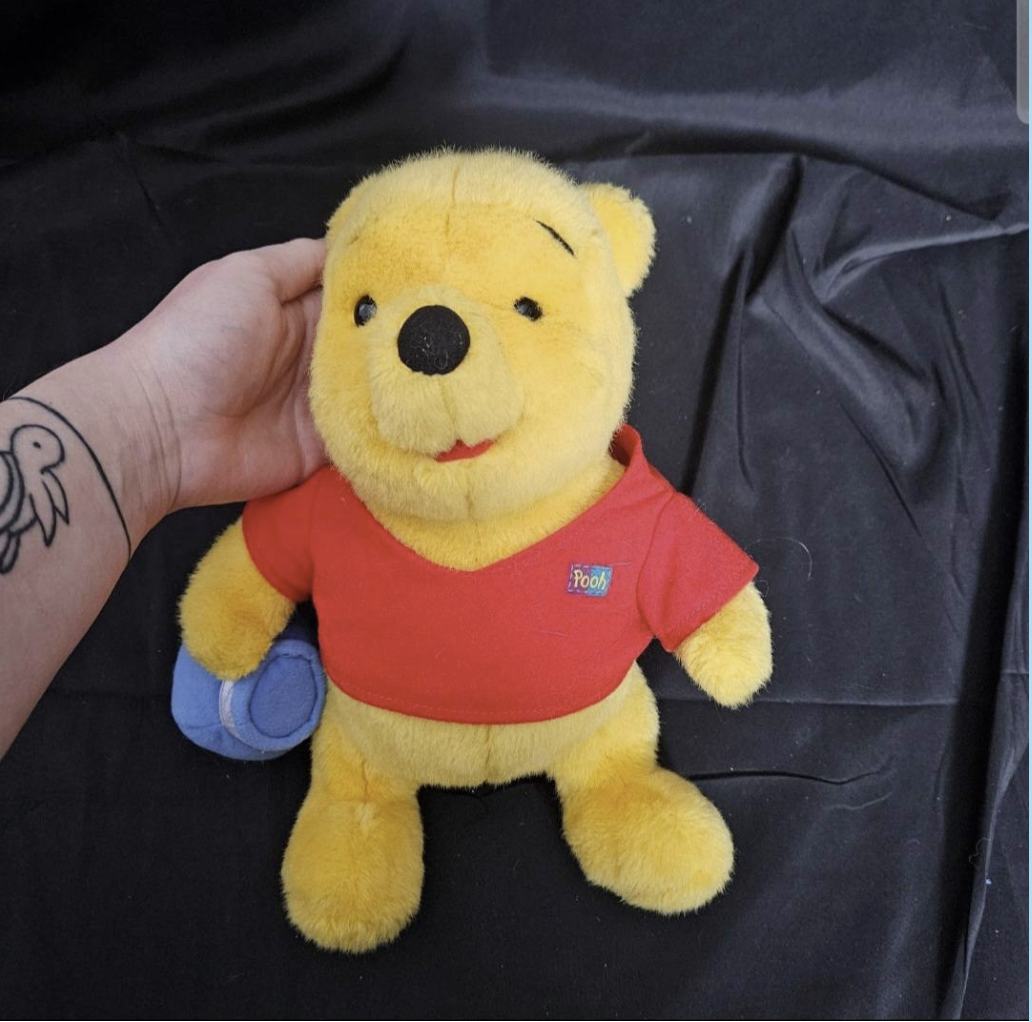
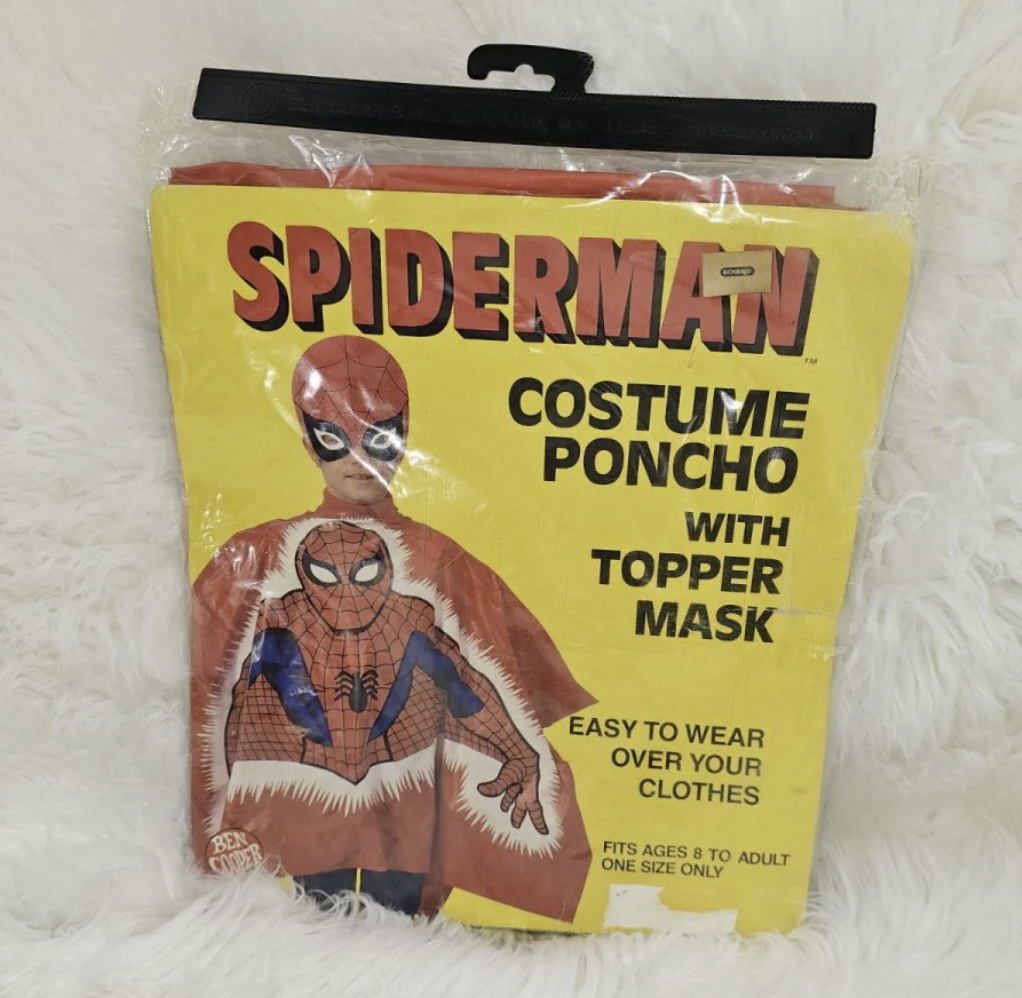
📸 Looks Matter
Quality Standards: Upload at least 3 high-res images (1024 x 1200 px or higher) showing all angles, packaging, and any imperfections.
Listing Image Do's:
✔️ Use good lighting and a clean background
✔️ Show close-ups of important details
✔️ No heavy filters—buyers want to see the real deal
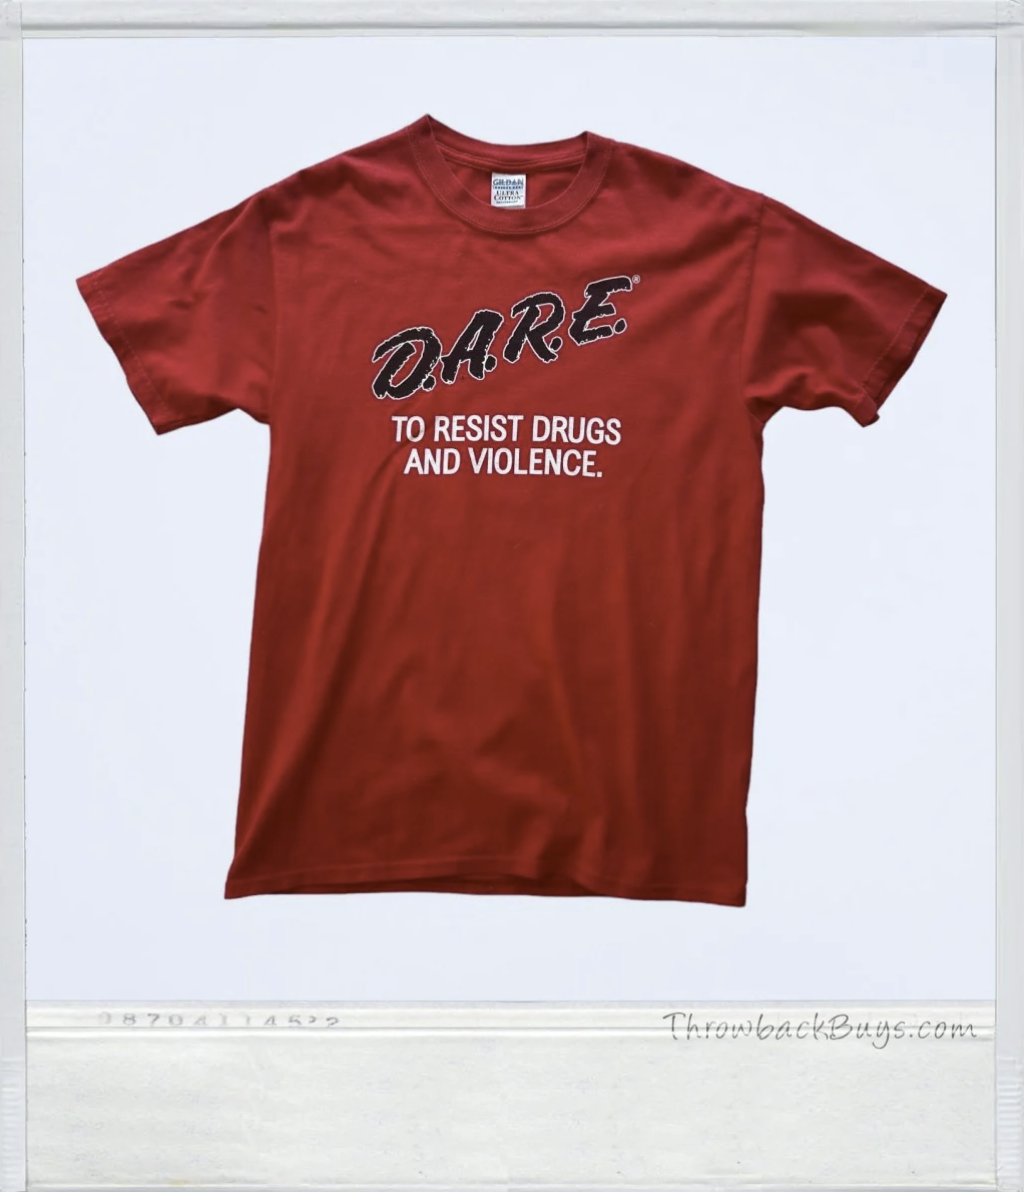
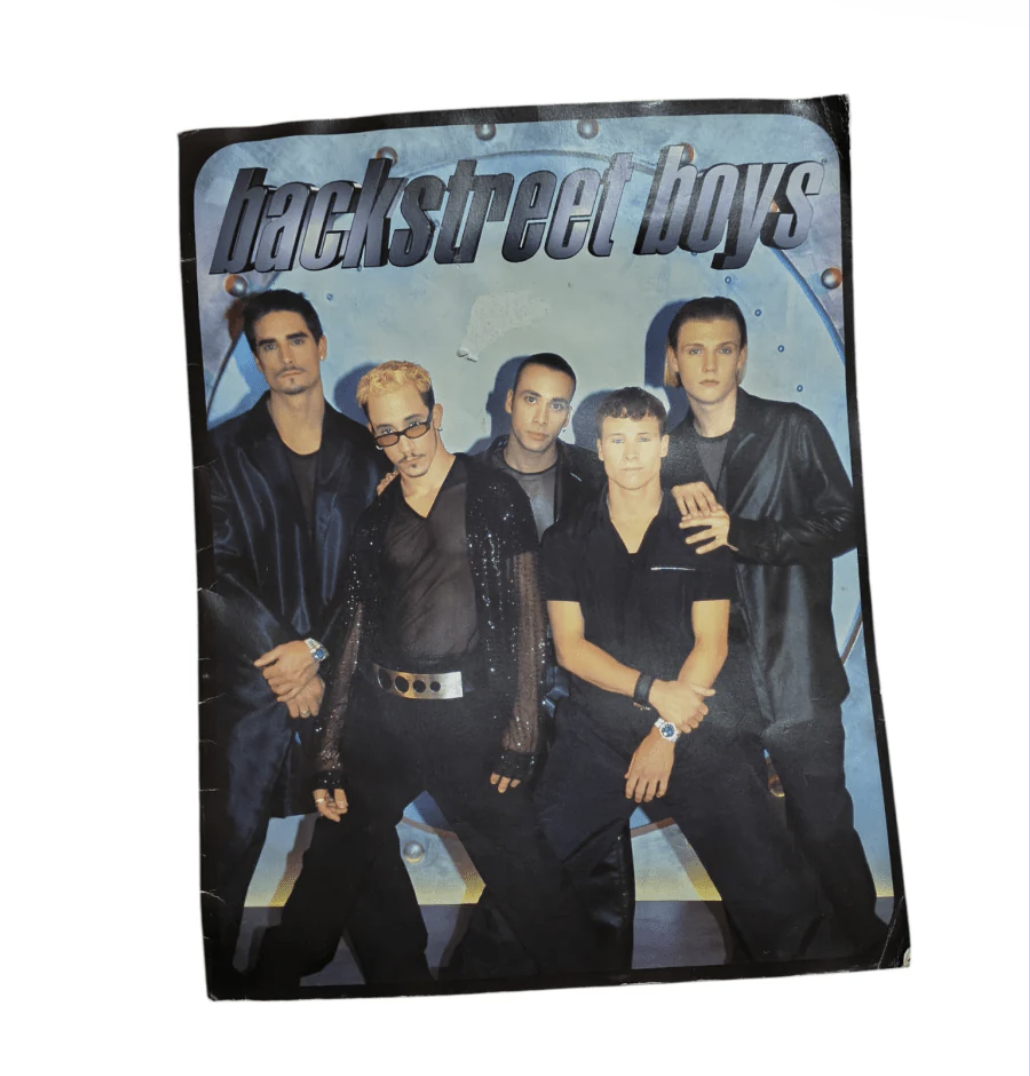
| Good | Better |
Best |
 |
 |
 |
 |
 |
Pro Tip: Use Photoroom AI to remove backgrounds and create that clean, signature TBB Polaroid template that keeps your listing lookin' hella retro 🔥.
Product Weight & Packaging
Weight Accuracy: Enter the correct weight to ensure accurate shipping costs. Incorrect weights can result in extra charges deducted from your payout.
Secure Packaging: Pack items like they’re priceless. Fragile or large items should be properly cushioned to avoid damage. No one likes a busted package.
Inventory Management
Item Quantity: Only list stock that is available and ready to ship. If you’re selling a one-of-a-kind item, update inventory immediately after it sells to avoid overselling.
Track Inventory: Enable “Track Quantity” in your listing so stock updates automatically.
⚠️ Important: Only add inventory to your shop’s location—don’t list items at another locations.
Nostalgic Appeal
Lean Into the Throwback: Your buyers are here for the memories—make your listings fun, engaging, and packed with nostalgia. Think back to how you’d describe it to your younger self!
Stay in the Loop: Keep an eye on your inbox and join the Throwback Sellers Lounge on Discord for the 4-1-1.
Following these guidelines = better visibility, faster sales, and happy buyers. Questions? Hit us up in #seller-support in the Lounge or email [email protected].
Collections and Product Types
When you select the appropriate product type for your listing, your item will be sorted into one of 4 collections on ThrowbackBuys.com - Throwback Playground, Threads, Media, and Decor. For a full list of which item types fall under each Collection, see below:
Throwback Threads:
Accessories
Backpack
Bag
Handbags
Jerseys
Hats
Shirts
Dresses
Coats
Jackets
Sets
Shorts
Sweaters
Sweatshirts
Hoodies
Pants
Polos
Throwback Decor:
Collectible Coins
Artwork
Collectible Cups
Decor
Gift Wrapping
Ornaments
Lighting
Lunchboxes
Towels
Paper Goods
Pins
Sleeping Bags
Sports Memorabilia
Pillow
Rug
Throwback Playground:
Board Games
Action Figures & Collectibles
Collectible Toys
Blasters & Foam Play
Water Toys
Candy Dispenser
Dolls
Handheld Consoles
Home Game Consoles
Video Games
Video Game Accessories
Woodwinds
Throwback Media:
Laserdisc Player
Portable DVD Players
Portable Audio
CDs
Camcorders
Headphones
Digital Cameras
Alarm Clocks
Corded Phones
Vinyl
DVD
Cassette Tapes
AM/FM Radio
Magazines
Books
Sports Memorabilia
Posters
Keyboards
Are we missing any Product Types? Drop us a note on Discord.
Promotions: Setting a “Compare At” Price (Discounted Listings)
You can now show shoppers that your item is on sale by adding a “Compare At” price when uploading or editing a product. This lets buyers see:
-
The original price (aka retail or market value)
-
The discounted price you're offering
-
A % OFF badge automatically calculated and displayed on the product
How to Add It:
-
Go to the product listing in your Seller Portal.
-
Under pricing, enter your regular selling price as usual.
-
Then, in the Compare At Price field, enter the original or higher price the item would typically sell for.
-
Save your changes. That’s it!
This is a great way to highlight deals, encourage conversions, and move older inventory faster.
Bulk Upload or Update Products via CSV
If you’ve got a lot of listings to add or update, the CSV upload tool can save you major time.
Here’s how to use it:
Step 1: Download the CSV Template
In your seller portal, go to Products → Import → Export to CSV. This will give you a properly formatted template to work with.
Step 2: Fill Out the CSV File
-
Leave the
_idcolumn blank if you’re adding new products. Only use it to update existing listings. -
Fill in all columns. Missing data may cause upload errors. Use "Default" as a placeholder if needed.
-
Each product should have a unique handle. If you’re creating multiple variants of the same product, they should all share the same handle.
-
Add public image URLs. These should be hosted on a reliable platform (like Shopify CDN or Imgur). Local files or broken links won’t work.
Important columns to fill out include:
-
Handle, Title, Description, Vendor
-
Option1–3 Name/Value (used for things like Size, Color)
-
Variant SKU, Inventory Policy, Fulfillment Service, Price
-
Shipping Required (TRUE/FALSE), Taxable (TRUE/FALSE), Barcode
-
Variant Image, Weight, Tags, Image Src (thumbnail), Inventory Quantity
-
Gift Card (TRUE/FALSE), Inventory Location, etc.
Step 3: Upload and Map Your Columns: Go back to Products → Import and upload your completed CSV. Make sure each field is mapped correctly before continuing.
Step 4: Review Errors (If Any): If something doesn’t upload properly, the portal will tell you why. You can fix the issues and re-upload the corrected file.
Step 5: Confirm Listings Are Live: Once successfully uploaded, your new or updated products will show up in the Products tab. Depending on your portal settings, they may appear as Active, Draft, or Pending.
Tips for Smooth Uploads
-
Always use the exact CSV template from your seller portal.
-
Use only public image URLs (no local files).
-
Don’t add extra columns that aren’t part of the template.
-
If your product has no variants, still include a default option like “Default Title.”
-
Keep descriptions to a single line or use HTML tags for formatting (like
<br>for line breaks).